Showing posts with label a child's year. Show all posts

Monday, March 19, 2012

Baby Shower Card

So my inspiration for this card came from Pinterest.  I clicked through and went to a really cool blog.  Going Buggy is the blog.  WOW.  Really just amazing work.  Check out the card she has there and then check out her million other fabulous projects.  The woman has talent!
Well, my cousin and his wife are naming their baby Adam so I thought it would be fun to write Adam instead of "BABY."
I have a few how to like things here but it is super simple without my ranting!
 I scored it using my Martha Stewart scoring board. If you don't have one put your stuff down and go buy one.  No, seriously, now. Your life just becomes simpler!


I inked up the edges on the small blue pieces I was setting inside the card with Tim Holtz distress ink.  Another must have item!

If you read my blog at all you know my favorite paper is Coredinations.  Really they should just put me on payroll.  Unfortunately they haven't quite discovered my budding talent but one day I will be good enough!  This was from their chocolate collection.  Brow paper blue core
Emobossed in my Big Kick
Sanded it down
Then I got to thinking a teddy bear would be cute on front.  Here is where things headed south.

Voila, one demon possessed bear.  I am still learning the use of flocking and I think giving him the beady eyes just reminded me too much of a dirty man with beady eyes.  Maybe I am just weird.  I will say, I bought the brown flocking powder once when it was a good deal.  I said to my daughter "look we can make a teddy bear with this."  I can't even tell you how long ago that was but when I needed it to do this bear I had it, therefore justifying my ridiculous stash of good deals.
As always, thanks for looking!  I would love to hear how much you loved Going Buggy's blog when you visit her!  Tell her I sent you! 

Getting my challenge on:

Sunday, June 5, 2011

Getting Cricky Simply Sunday Challenge: Vintage Feel

Ok... If you follow my blog you know vintage is not my typical style.  Lace, certainly not something I have used.  Embellishments... very lightly used.  So this put me WAY OUT OF MY LEAGUE!  I did it though- I THINK.  usually when I finish a project I can tell if it is trash or treasure and the jury is still out on this one.  However, when there is a challenge to be met I don't back away.

I was so unsure what to do I called my sister... a bunch of times... from the store for help.  I was sending picture texts, she was googling products.... AHHHHHHHHHHHHHHHh the stress.  Then it turned out fun once I got home and used mostly what I already had.  Probably didn't need that trip to the craft store- don't tell hubby that though ;)

So here is my attempt at vintage:
I used Core'Dinations from three lines.  Core Amour is the stripes in the background, black magic for the girl and boy, and whitewash for the frame and roses.  I am covered in dust!!!  I sanded more firmly on the outsides of the striped paper to reveal the underneath design.

The kids are cut from A Child's Year, I seem to be using this a lot lately!

The strip on the bottom is there for one reason... it was my original inspiration and I bought it to make this project.  Of course once I started I realized I didn't need it but I am stubborn and bought it for this project so it is here.  This strip is Wedding stacked border from Karen Foster Design.

I have a tutorial on how to make the flowers here.  They are very simple to make if you haven't done them before I think you will find them a fun easy thing to do.


I am entering this into the following challenges:

Sunday, May 29, 2011

Getting Cricky Simply Sunday Challenge: Pennants & Banners


Banners!  I love banners!  Then when I "had" to create one I froze up!  How does that happen?  Then once I started working I loved it.  I made this one universal to cover Memorial Day and the 4th.  I thought it would be cute to hang up on the back deck during our BBQs.  We love having people over in the summer for cookouts.

This is my first ever Design Team project. I am so excited to be designing for Getting Cricky.  If you don't already follow that sight you have got to check it out.  She has a ton of inspiration and challenges going on.  Not to mention blog candy is always being passed around there, she is one generous chicka! I really wanted to make something I could be happy with and I took a few shots at it and I am happy with the outcome.  I even found a vintage fence to hang it from for the photos!  (I wish that was true, but our fence just needs a fresh coat or 5 of paint after the winter!)

It is rare for me to do everything in a project from the same cartridge but for this one I did.  Every cut on here is from A Child's Year.  The cardstock is CoreDinations.  I used black magic for the stars and the letters.  I embossed them in my Big Kick and then sanded them to reveal the "hidden" color.
The red on the right shows you the "hidden" color.  This is before embossing and sanding on the left.

Both embossed but I have sanded the one on the right.  How cool is that?!


I am also entering this into a couple of challenges:
Cooking with Cricut- Memorial Day
Creative Cutter Room- Honoring our Vets
Memorial Day Challenge 4 at Scrapalicious USA
2 Sisters- Anything goes
Crazy About Cricut Thankful Thursday
Paper Cutz Challenge
Decorate to Celebrate

Monday, May 23, 2011

Remembering

Our lives are changed by the experiences and events that happen.  Sometimes those experiences are so painful that they change the course of our lives. We need to make choices on how we are going to handle that pain and who we are going to be despite it. On January 10, 2005 the Lord had a different plan for my sister's life then we did.  On her way to work she was in a fatal accident and He took her home to be with Him when she was only 11.  Our family misses her every single day.  Having that birthday party yesterday for my kids left me really missing her today.  All the life events I wish she could share with us she can't.  However, our family chooses to celebrate her life rather than mourn her death.  Several times a year we get together and celebrate her including a scholarship fund our family raises to send kids to the summer camp she worked at. One thing we do all the time, that gives us reason to smile, is send balloons to heaven for her.  My kids love doing it and we enjoy that moment and I send prayers for other families that experience this pain.  So this morning I wanted to just think about her and feel her memories in my life.  I keep a folder that I have labeled "encouragement."  When I have a down day I pull something from this folder and it lifts my spirits.  It is filled with cards, letters, quotes, and many other random things that have made me feel special in my life.  I created this this morning to set in that folder- it will make me smile as I think of sending smiles to Candace.

Most of this was cut from A Child's Year.
 

submissions:
Fantabulous Cricut (blue and a cloud)
Cooking with Cricut (balloons)

Saturday, May 21, 2011

Blast Into Summer Blog Hop

Hi there! 

Thanks for stopping by.  You should have come from Kristy's blog if you didn't hop on back to the beginning to see some even more fun projects!  You can do that by clicking here and visiting Wendy at Cricut Your Classroom.

We were given the opportunity to create something that expresses to students, teachers, or volunteers, that they have done a great job this year or something that sends them off into summer.  I teach Kindergarten, and let me tell you those kids ROCK!  They have worked so hard this year.  They have taken my expectations and "blown me away." So, I used some mini bubbles to let them know. 

You know how we have all of those things stuffed into a closet because someday we will have the perfect use for them?  Well, I had the bubbles I got cheap, cheap, cheap once.  They were Easter bubbles.


First I created a label for the bubbles.  It was from Sweet Treats and had a candle on the side.  Using my Gypsy I hid the candle part of it.  I put some ink in my Cricut and had the sentiment written on my new label.
I embossed the white card stock for the top using Fiskars texture plates in my Big Kick.  The bubbles on the label are from A Child's Year.
If you like what you see the biggest compliment you can pay me is by "following" me!  If you leave a comment make sure to give me the link to your blog so I can visit you in return!

Your next stop is Sue!  Head on over there and see what she has created for you today!

Monday, April 4, 2011

Baby Shower Card

Good Evening!

After finishing up my last projects I thought I was done crafting for at least a couple of days.  I found myself right back at it tonight though :)

My craftroom mess is spilling into the kitchen and screaming PICK ME UP!  Maybe tomorrow...


This card is for a friend's baby shower on Sunday.  I also need to make some decorations for it this week and the gift.  I probably should get on that!

I cut the image on this card from A Child's Year.  The sentiment is from Stampin' Up.  I went through a phase where I bought a ton of Stampin Up stuff even though I didn't/don't really use them.  I am trying to start using everything I have and I have some cool stuff I am discovering ;).

Thanks for visiting.

I entered this into the Fantabulous Cricut challenge to have an umbrella in the project.

My Sheri's Crafts  is all about April showers!

Sunday, April 3, 2011

My Core’dinations Creative Frenzy


It has been quiet on my blog this past couple of weeks because I have been super involved in a few projects that you will find below.

Just a warning.  This is a LONG post!  I have also provided links to other posts in order to make this a bit easier to load for people.  Below each project description you will find some step by step directions and links for further information on how to do the projects I did.  PLEASE email me if you have questions!

So without further ado here is my post for today!

Is all cardstock created equal?
HECK NO!

I have become totally addicted to Core'dinations Cardstock.  In fact, I went into the local craft store last week and talked to the store manager about how we need more of it!  Wait until you see EVERYTHING you can do with it!!!

Here are some recent projects I have created with their cardstock.  After showing the pictures I will take you through more detail on each project and provide links to instructional posts.  I like to make things a little outside the everyday items:)  Also, when creating for challenges, hops, and other things I like to create something I actually NEED to create and not just random things.  So with each project you will see why I found that project something I should make. (There are 3 projects this blog focuses on.  At the bottom are some images and links to recent projects using Core'dinations.)


Ok one project at a time here .  
First let's talk about the super cute owl banner!


To give you an idea of how much Core'dinations dresses up your project check out this image.  I created the banner without Core'dinations and then I did it again using Core'dinations.  How can you NOT want to run out and buy some now?! :)
Core'dinations

Regular cardstock


 Look at how much it POPS when you use the Core'dinations!!!!


Supplies:
* Stacy Julian's Happy Colors Core'dination pack.  You can see it online here.
* Cricut cutting machine
I have a Gypsy and find that I use many cartridges on one project.  This project could be adapted to use with fewer cartridges.  I just like to play with all of them. :)
* Paisley Cricut cartdidge for the owls
* Accent Essentials Cricut cartridge for the flowerlike things over the rosettes
* Celebrations Cricut cartridge for the banner flags
* A Child's Year Cricut cartridge for the lettering.
* Sandpaper (I used 150, 180, and 320 depending on the effect I wanted.)
* Fiskars Shapeboss and "stars" template
* Adhesive of your choice
* I used patterned paper (American Girl) for the rosettes, although I think more cardstock would rock here too!
* Ribbon to hold banner up.   I bought SUPER CUTE ribbon for this and realized as I went to take the photos it wasn't long enough :(

So, how did I do it?!
1. Cut my flags on the Celebrations Cricut cartridge.
2. Changed the size of the flags and cut them again using the embossed Core'dinations cardstock.
3. Sanded each of the words I wanted to pop on the flags with 180.
4. Created the rosettes. For a tutorial on how I did that click here.
5. Cut out the flower shapes from Accent Essentials also using Stacy Julian cardstock.  I then sanded those using 150.  
Here is a pic of what this looks like sanded and unsanded... both look awesome.  The pic doesn't show it as well as it does in person but you can get the idea.  In the pic you will also see "regular" cardstock as a comparison to how different it is.

6. I created the letters.  The letters were embossed using Fiskars Shapeboss which works awesome with the Core'dinations cardstock. For a tutorial on how I did the letters and more information on the embossing and sanding click here.

7. I made the owls using scraps from the other parts of the project.  I LOVED part.  I used 320 for sanding on the owls.

8. Glue it all together and VIOLA I have a very happy 7 year old!!!!

Now, let's talk CAKE!


 Is that yummy enough for you?!  Each "slice" is filled with a yummy treat too :)
My son opted to go to a special themed hotel for his birthday this year instead of having a party.  He picked the Jungle Room.  So I thought I would make him a fun "cake" to match the room.  Here is his jungle cake!  I can't wait until he sees it.
Supplies:
* Core'Dinations paper.  I used Stacy Julian's Happy Colors.  I also used papers from Core'dinations Ebony & Ivory package.
* Cricut cutting machine
* I used the following cartridges: Animal Kingdom, Everyday Paper Dolls, Tags Bags Boxes & More, Zooballoo
* Adhesive
* Sandpaper (150)
* Green ribbon
* Treats to put inside the "slices"
* A cake "topper" (I found this in a pile of animals in one of the bedrooms.)

So, how did I do it?!
1. Cut all the boxes.  For a tutorial click here.
Grass layer:
1. Took the green paper for grass and sanded it lightly to give it some texture.


2. Cut small slits in the top and then tore down to create the blades of grass.

You will also want to tear the tops at a slight angle so you don't have straight edges for the top of your grass.
You can see that a couple in the middle are done here and the outer ones I have not done yet.

Doesn't it look cool when you tear it?!  I love that it isn't white but gives another shade of green to the project!
3. Then I cut my snakes from Everyday Paper Dolls (thanks to my Gypsy and the search feature!) and drew on them some.

 4. Weave the snake in and out of your blades of grass.  Then adhere it to your cake slice.


Tree layer:
After doing the snake layer I came up with the idea to make a "band" around the cake with decoration.  There are pros and cons to each way.  However, I wanted a continuous look on this layer with monkeys swinging from a vine and it helped to make the band.
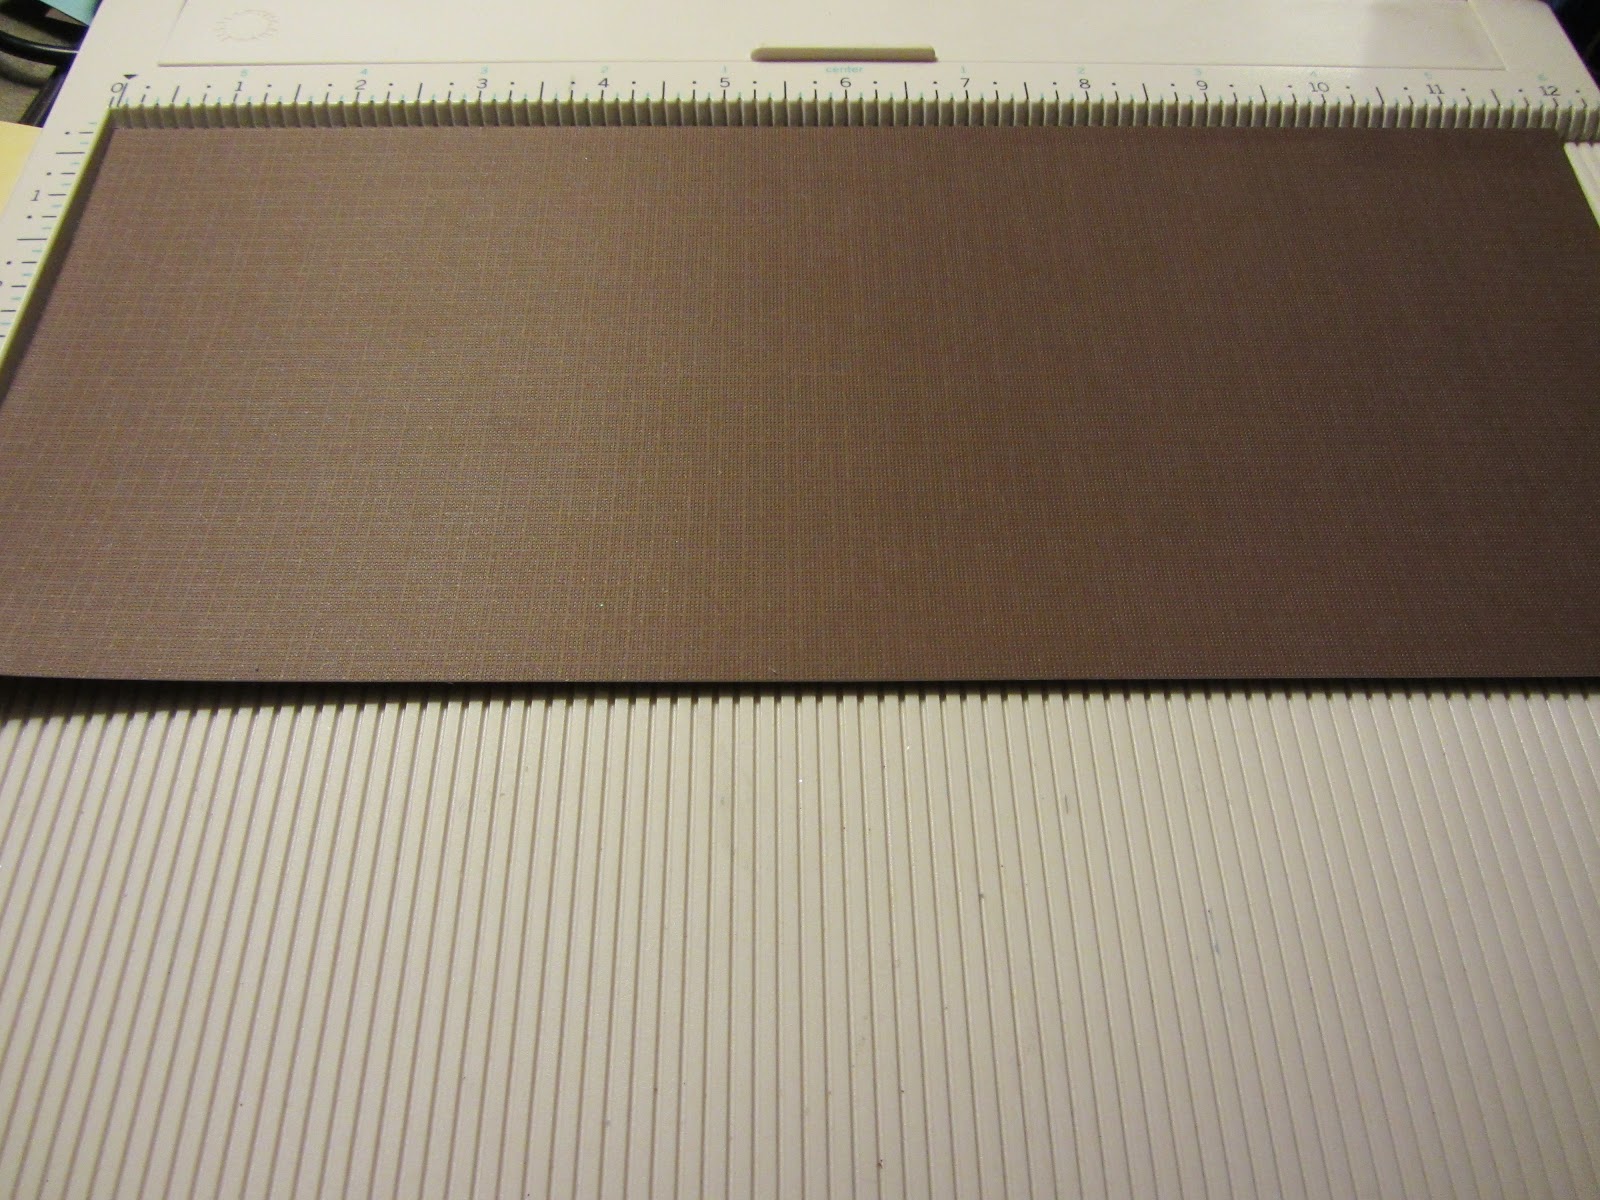
1. Measured and cut strips to make one long band to go around this layer.  I LOVED the brown color of the cardstock.  I am a huge brown person and this layer was filled with different shades all from Core'dinations!  
A little hard to see on my wood floor :).  This is the strip I created.

2. Sand down the cardstock to give it treelike texture.
On the left you can see the texture you get when you sand it!  Both ways are fabulous but I am on a roll with sanding.
3. Cut the monkeys and monkey layers out using Zooballoo.  For the paper on the outside of the monkey I used my first "Black Magic" paper from Core'dinations.  You can check out that collection here.
With Core'dinations the color strip you see along the bottom is what your "core" of the cardstock is.  So this is what will come out when you sand, tear, or emboss.  This just looks like a hot cup of coffee to me and wonderfully fabulous, so it became the outside of my monkeys.  In the bottom right of the pic you see what I used for the monkey bellies.  
4. I sanded the monkeys because fur has some dimension and I thought it added to that.  I did NOT sand the yellow shadow cut on the monkeys because I wanted to keep it nice, bright, and simple.
5. After creating my monkeys I used mini glue dots to put ribbon on my strip to be a vine.  I then placed my monkeys on the vine.


(I am a teacher and can't help but think of the fabulous trim ideas for my bull. boards with this stuff!  This is the perfect size!)
6. I attached the monkey band to my cake.
Sky layer:
1. Cut strips of blue paper from Core'dinations to make a blue band for my sky layer.  I sanded these very lightly (320) in an upward curved motion.  It made me think of clouds.
2. The Ebony & Ivory set I mentioned first includes some Whitewash collection, which you can check out here.  Click here to see the Ebony& Ivory collection.  I took a piece of the whitewash with a blue core to make the clouds.  I freehand drew them and then cut them with scissors.  I probably could have just used my Cricut which didn't occur to me until I started writing this!
Whitewash piece I used.

Clouds
 3. I lightly sanded the whitewash to give it a softer look.  You really can't tell in this picture but in person it does make a difference.
4. I cut the parrots out using scraps from my other projects with Core'dinations.  I LOVE my scraps :)
5. I used my glue dots and put everything on my top layer.
Phew, what a project!!!  I love how much this cardstock does for me without needing patterned paper.


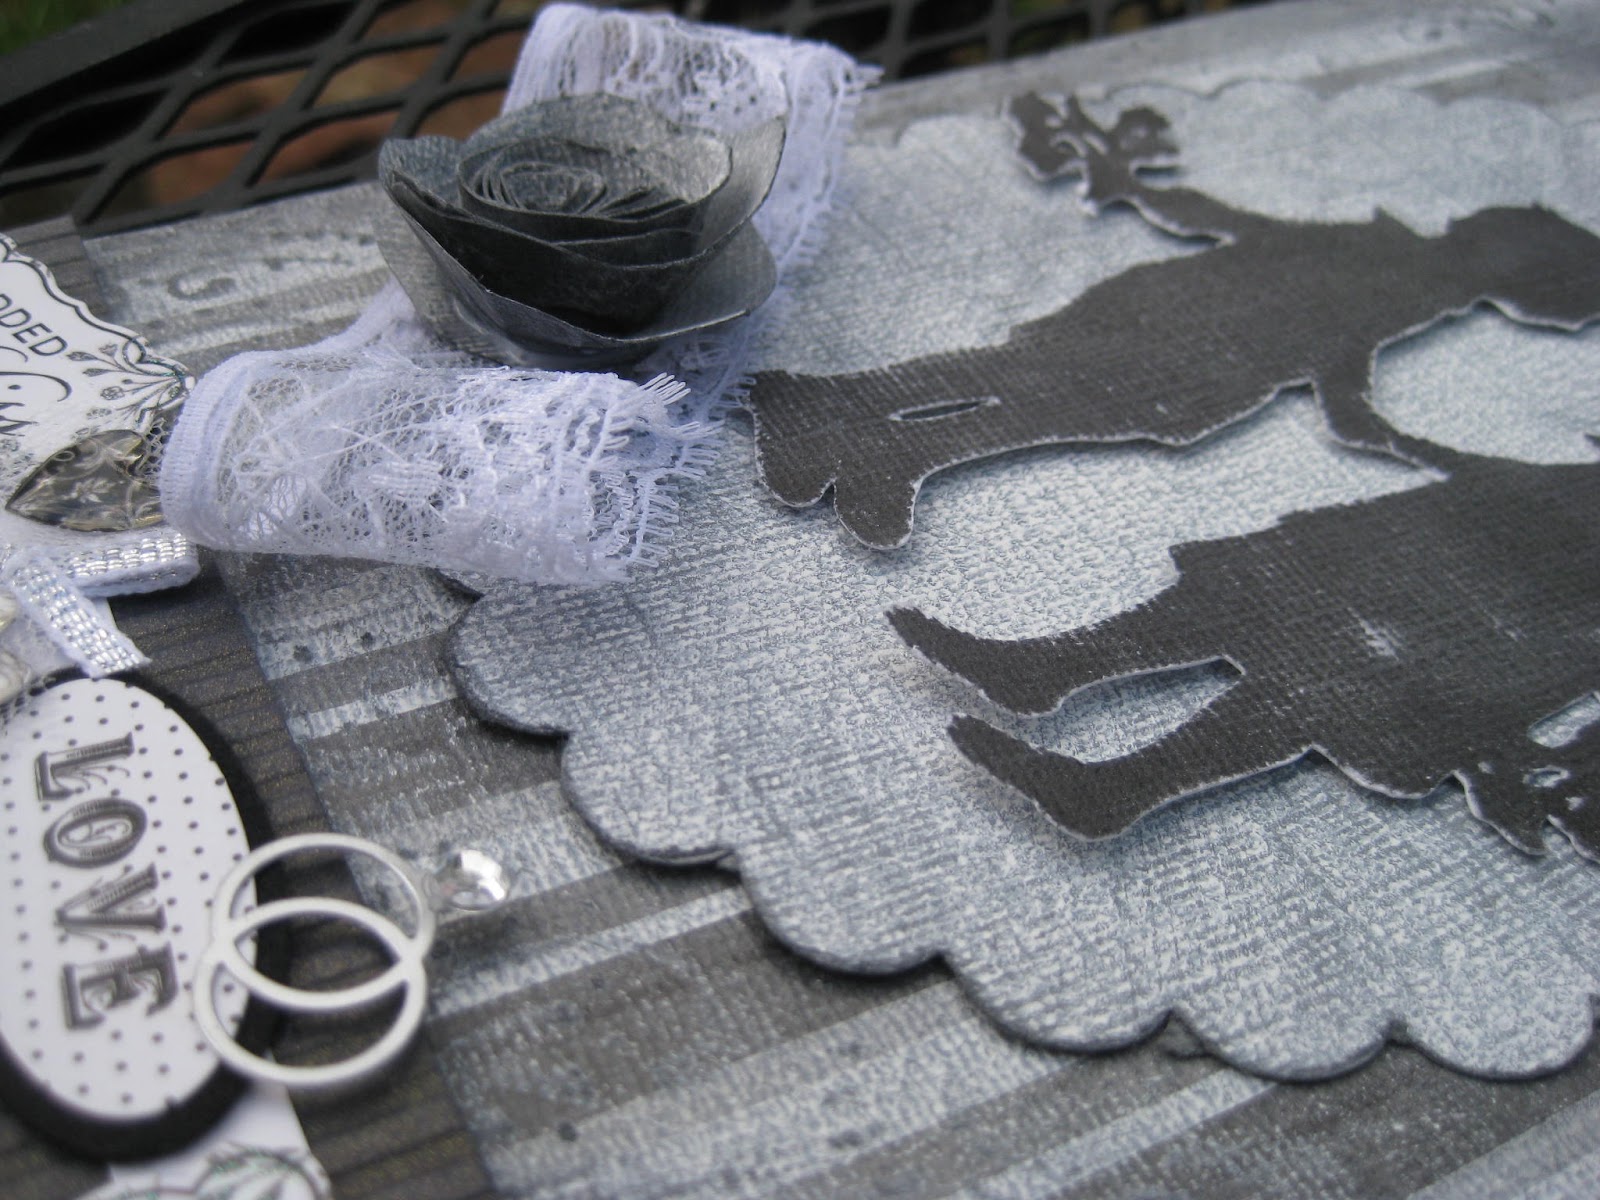
How about a simple card to top it all off?

Supplies:
* Black magic paper and coordinating sheet from Core'dinations.
* A few pearls for bling
* Cricut Machine 
* Cricut cartridges Forever Young and Gypsy Wanderings
* Adhesive
* Sandpaper (I used 150)

So, how did I do it?!
Let me start by saying, this project was so EASY!  It took me longer to decide which girl to use from the cartridge then it did to make the card.
1. I cut the girl out and the sentiment. (This includes the dress layer and the dress)
2. I cut the piece of black magic paper I wanted and scored a straight line down it about a half inch in.  Then I tore along that scored line to reveal the pink core.
3. The top layer of the dress is the same cardstock that is on the left of the card.  I just sanded it down to reveal some of the core.
4.  Added a bit of bling and there I go! 


I have a bunch more cards I need to make over the next couple of weeks so be watching for more Core'dinations!

A few of my other Core'dinations projects if you are interested: 


Easter Card
Related Posts Plugin for WordPress, Blogger...